Spring is in the air, and with spring comes frogs! Glorious frogs! As a kid, I remember having fun catching frogs in the creek with my sisters. We’d hold their soft, slimy bodies in our hands until they’d hop away. (I have since learned that you shouldn’t hold frogs without gloves on for the safety of both you and the frog!)
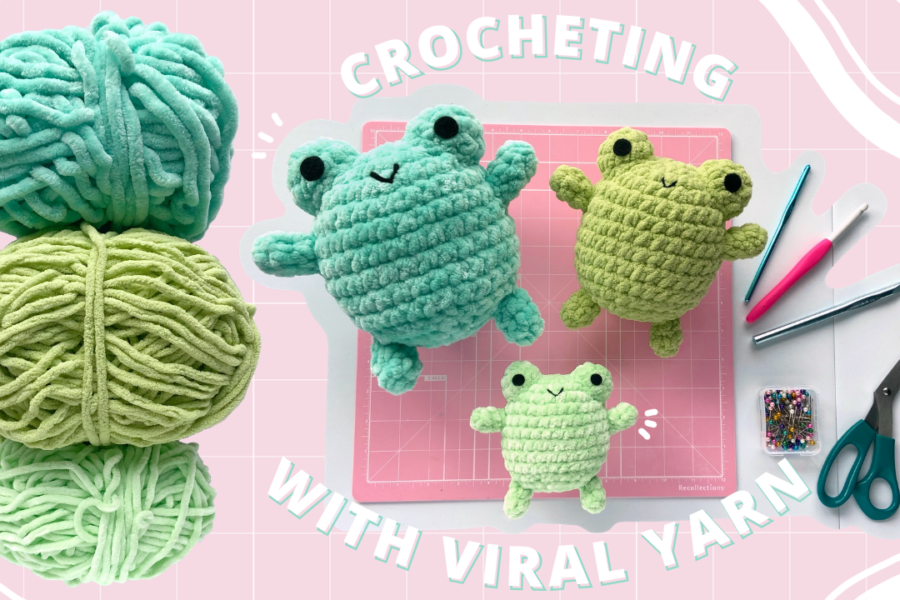
These days, I don’t go searching for frogs in the wild, but I do enjoy making cute frog themed art! I wanted to share this simple frog amigurumi pattern with you so that you could crochet a cute, round froggy friend of your very own and spread the froggy love.<3 So let’s hop to it!
Below are some video tutorials (both left and right handed) in case you want to follow a video for extra guidance with crocheting this frog or just want someone to crochet with! If you’d rather follow a written pattern, keep scrolling down.
Please note that some of the links in this post are affiliate links. This means that I may receive a small commission on purchases made through these links at absolutely no cost to you. Thank you for supporting me and Toristory Creations! Your support enables me to continue creating new content!
Materials

3.25mm crochet hook
6mm safety eyes (1 pair)
Black embroidery thread
Green worsted weight yarn (I use the brand Loops & Thread’s Impeccable Yarn in the shade Citron)
Fiberfill stuffing
Scissors
Sewing pins
Yarn needle
Stitch markers (optional)
Eyes (make 2)

Using green yarn.
Row 1. magic circle with 6 sc stitches (6)
Row 2. inc x 6 (12)
Row 3. sc x 12 (12)
Fasten off with a slip stitch. Leave a long tail for sewing onto the frog’s body.

Once you’ve finished crocheting the eye, it is time to attach the 6mm safety eye in place.
Insert the safety eye between rows 2 & 3. Secure backing onto the safety eye. Once secured, your frog eye should look like the below photo.

Arms/Legs (make 4)

Using green yarn.
Row 1. magic circle with 5 sc stitches (5)
Row 2. sc x 5 (5)
Row 3. sc x 5 (5)
Fasten off with a slip stitch. Leave a long tail for sewing onto the frog’s body.
Body

Using green yarn.
Row 1. magic circle with 6 sc stitches (6)
Row 2. inc x 6 (12)
Row 3. [sc, inc] x 6 (18)
Row 4. [sc x 2, inc] x 6 (24)
Row 5. [sc x 3, inc] x 6 (30)
Row 6. sc x 30 (30)
Row 7. sc x 30 (30)
Row 8. sc x 30 (30)
Row 9. sc x 30 (30)
Row 10. sc x 30 (30)
Once you’ve completed row 10, your frog’s body should look like this:

Now it is time to sew the mouth onto your frog! For this step you will need your yarn needle and black embroidery thread. Thread your needle with the black embroidery thread. Continue following the steps in the below photos to create your frog’s mouth.


Row 11. sc x 30 (30)
Row 12. [sc x 3, dec] x 6 (24)
Row 13. [sc x 2, dec] x 6 (18)
Row 14. [sc, dec] x 6 (12)
Stuff firmly with fiber fill stuffing.
Row 15. dec x 6 (6)
Sew the hole closed and weave in the ends.
Putting the Pieces Together
Now that we’ve completed the eyes, arms/legs, and body of our frog, it is time to sew all of the pieces in place!
Using sewing pins, pin the eyes into place. Use the below photos to guide you on placement. I placed my eyes about 1.5 rows to the left and right of the top of the body.


Next, pin the arms and legs into place. I placed my frog’s arms about 1 row down from the bottom of the eyes. For the legs, I placed them about 4 rows below the arms.


Once all of the pieces are pinned onto your frog, use the yarn tails attached to each piece to sew the pieces to the body.

And that is it! You now have a cute amigurumi froggy friend of your very own! I hope you enjoyed this pattern! If you have any questions, please feel free to contact me and I will do my best to reply as soon as I can.
Every amigurumi is different, even when following the same pattern. I love seeing the different amigurumis created from my patterns. If you’d like to share a picture of your finished froggy friend on social media, please tag me @toristorycreations! I would love to see them!
I hope you have a wonderful rest of your day. 🙂 Happy crocheting!
~Tori
This is an original pattern by Toristory Creations. Please do not claim this pattern or any part of it as your own. If you plan on selling the amigurumi made from this pattern, please mention Toristory Creations as the pattern designer. You may place a link to this pattern on your own website, but please do not repost or republish any part of this pattern on your site or social media. As always, I love to see finished creations made by my patterns, so please share your own versions of this pattern with me @toristorycreations





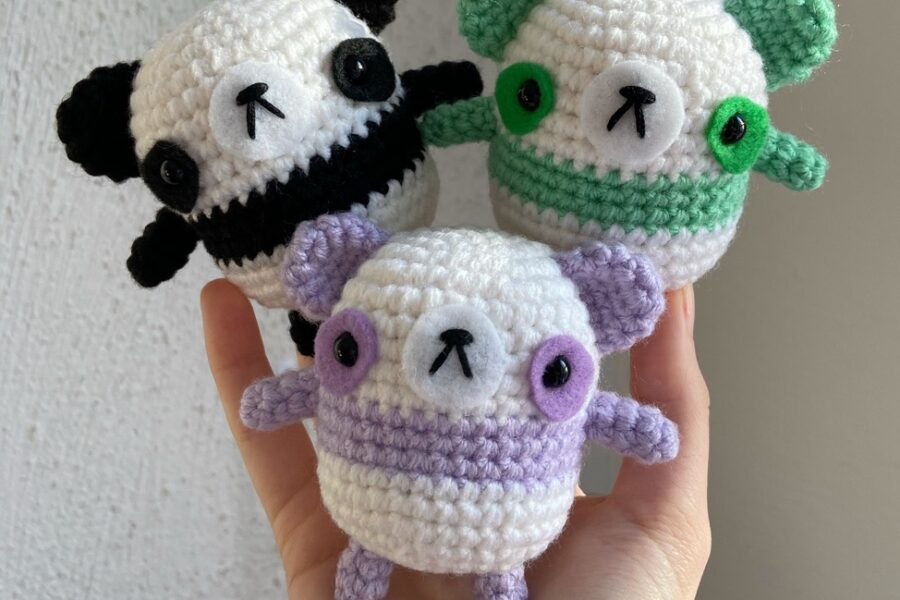
Thank you very much!!!! 5 of them live in my house now
Thank you! I’m so glad that you were able to make so many frogs with the pattern!
I would just like to say that these are amazing and I am going to grab my yarn and start making some now! Thank you so much for making this pattern and especially making it free. You’re amazing and keep on doing what you are doing!
Aw, thank you so much! I really appreciate all of your support and your lovely comment. It is very motivating!💖 I hope your froggy friend turns out cute and best of luck on your crochet journey!
no bc these are literally so cute i’m obsessed with them and will be making them in every color
Thank you so much, I am so glad that you like the pattern! I bet your colorful froggy friends looks so cute together!
These are so cute, I just wanna fill up a basket with them ack. Thank you for making this free, hoping to see more of your amazing works UwU
Thank you so much, Anne! I am so glad you enjoy the pattern and I hope your froggy friend turned out super cute! 💖
Hello
Do you have the pattern for the bigger size?
Hello! Thank you so much for your comment! I do not have a pattern for a bigger size of these frogs using the same weight 4 yarn. However, if you use a thicker yarn than what I list in the materials section and a larger hook size, you can use this same frog pattern and your frog will turn out larger! I have a separate blog post here where I list 3 different yarn and hook sizes that you can use to create a larger frog and still use this same pattern. I hope that helps! 💖🐸
Might make this for my SO (significant other) for Valentines Day cause they love frogs 🙂
That is so sweet! I hope your SO loves the Valentines Day frog you make them!💕
love this! i turned it into a keychain
Thank you so much! A froggy keychain sounds like a cute way to carry around your froggy with you!
Thank you so much for this pattern! My daughter asked me 2 days before hand if i could crochet her friend a froggy for her birthday. This pattern is so cute and works up so quickly that I’m able to make her a while family of froggies!! Thank you so much. 💓
Hello, I’m so glad that you were able to find this pattern and make your daughter the birthday gift she wanted!💖 I hope she loves all of the froggies you made her! Thank you so much for your comment and support!
i am 11 years old and this is my first Amigurumi thank you so much i made a white one and making a green one too with even better yarn thank you again tori
Thank you so much for supporting my frog pattern💖 I am so glad to hear that you were able to successfully make your *first* amigurumi! You should be very proud of yourself! Best of luck on your crochet journey!🧶
thank you very much for this, i made two froggies (one green, one pink). their names are frogbert and frogothy and they’re married.
This was a lovely pattern to work with, I’ve already made like 3 in the span of 2 days! Thank you so much for sharing this 😀
These ate so adorable. My gdaughter asked me to crochet one for her! Thank you!
this is so cute and i love it so much i made one in every single color thank you for making this free this is only my second amigurumi
noo cause why is this froggy so cute?!?!?!
i love the froggy and will def be making more
Adorable pattern! I love it! This is an amazing pattern, videos too??!? Incredible! Thank you so much for providing it for free for all of us college student crocheters who cant afford patterns xD
Mine failed, but i finished it and named it “Flobby” , because it looked like a blob, but this is my first week and i suck. So i will try once i get better.
As a brand new crocheter this was so detailed and helpful and I’m so proud of my firsts creation! I appreciate the various ways you relayed the information: video, pictures, line by line summary, etc. Thank you for walking me through it:)
Yall- I MADE 4. THEY ARE SO CUTE. This pattern is absolutely amazing 🤩
These pattern is so good. I really enjoyed crocheting the frog. I used pushy yarn and it turn out big. I arranged the feet like He was setting and I love him.
I gave the first one I made to a little girl on my flight back to school 🙂 felt like a good way to let my first amigurumi go off. Now I’m making some more for my friends and I, so thanks for the free pattern and inspiration!
I love this little frog buddy, he is so cute and easy to make!